
If you’re looking for a quick, affordable way to transform the look of your car, learning how to Plasti Dip rims is a great place to start. Whether you want a sleek black finish or something bold and custom, Plasti Dip offers a peelable coating that’s durable, flexible, and completely reversible.
This DIY project is beginner-friendly and delivers professional-looking results with the right prep and technique. Here’s everything you need to know.
Why Use Plasti Dip on Rims?
Plasti Dip creates a rubberized coating that protects against road debris, weather, and brake dust. It adheres well to metal surfaces and can be peeled off cleanly when you’re ready for a new look.
Benefits include:
- No sanding or permanent damage
- Easy to reapply or change color
- Budget-friendly compared to powder coating or paint
- Adds a layer of scratch and corrosion protection
What You’ll Need
- 4+ cans of Plasti Dip Spray
- Jack and jack stands (if removing wheels)
- Tire cleaner or degreaser
- Microfiber cloth
- Painter’s tape
- Index cards or playing cards
- Optional: Glossifier for a shiny finish
Step-by-Step: How to Plasti Dip Rims
1. Clean the Wheels Thoroughly
Spray the rims with a degreaser or wheel cleaner to remove dirt, oil, and brake dust. Dry them completely using a clean microfiber cloth.
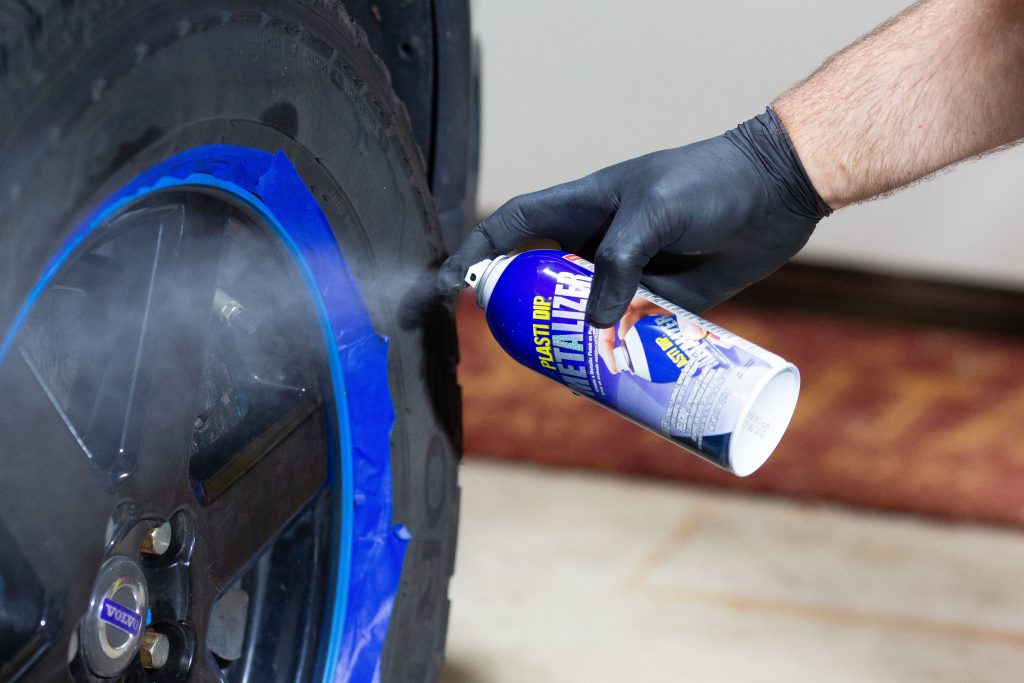
2. Mask the Tires
Insert index cards or playing cards around the edge where the rim meets the tire. This blocks overspray and creates a clean edge. Use painter’s tape for extra coverage if needed.
3. Prep Your Work Area
Work in a shaded, well-ventilated outdoor area. Lay down drop cloths if spraying while the wheels are still on the car. If you prefer, you can remove the wheels for easier access.
4. Apply the Plasti Dip
Shake the can thoroughly for 1 minute. Spray 4 to 6 light, even coats, allowing 15 to 30 minutes between each coat. Begin with a light tack coat, then build up full coverage.
5. Let It Cure
After the final coat, allow the Plasti Dip to cure for at least 4 hours before driving. For best results, let it sit overnight.
6. Peel and Touch Up if Needed
If you made a mistake or want to remove the coating later, simply lift an edge and peel. For long-term use, reapply after several months or as needed.
Tips for Best Results
- Warmer temperatures help the coating cure more evenly
- Avoid high-pressure washes for the first few days
- Add Plasti Dip Glossifier for a polished finish
- Reapply after heavy wear or seasonal changes
A New Look in an Afternoon
Knowing how to Plasti Dip rims gives you the power to refresh your car’s appearance with minimal tools and maximum impact. Whether you’re going for stealthy matte black, color-matched rims, or a custom combo, Plasti Dip puts the finish in your hands—and lets you peel it off whenever you’re ready to switch things up.
Grab a few cans and get started. Your wheels will thank you.